Miso, the savory umami bomb synonymous with Japanese cuisine, often conjures images of fermented soybeans. But what if you could harness the deep, complex flavors and incredible gut-healthy benefits of this traditional paste without using soy? The answer is a resounding yes! Welcome to the world of soy-free miso, a versatile and rewarding fermentation project that opens up a universe of flavors from nearly any bean. Whether you're navigating dietary restrictions or simply eager to explore new culinary horizons, learning how to make miso paste from alternative legumes is a journey worth taking.
This ancient condiment, at its core, is a simple yet profound transformation of beans, salt, and a magical ingredient called koji. The process, while requiring patience, is surprisingly forgiving and offers immense satisfaction, culminating in a paste packed with probiotics, prebiotics, and rich, nuanced tastes. Prepare to unlock a pantry staple that will elevate your cooking and nourish your gut.
What is Miso, Anyway? Deconstructing the Fermented Bean Paste
At its most fundamental level, miso is a fermented bean paste. However, to truly appreciate its complexity, we need to talk about its core components. Traditionally, miso is made by combining cooked soybeans with water, salt, and koji, then allowing this mixture to ferment for an extended period – ranging from several months to even years. The secret to miso’s unique character lies almost entirely with koji.
So, what exactly is koji? It is, in essence, the "life force" behind every miso paste ever made. Koji refers to a steamed grain (such as rice, barley, or even soybeans themselves) that has been intentionally inoculated with a beneficial fungus called Aspergillus oryzae. This mold is a microscopic powerhouse, working tirelessly during the fermentation process. It breaks down the complex starches and proteins present in the beans into simpler, more digestible forms: amino acids, fatty acids, and simple sugars. This enzymatic breakdown is precisely what gives miso its distinctive umami, sweetness, and depth of flavor.
The fermentation journey is a slow, natural evolution that gradually transforms the bean paste. Over weeks, months, or even years, the flavor deepens, the color darkens, and the texture becomes smoother and richer. The result is a highly prized seasoning in Japanese cuisine, renowned for its ability to add a layer of complexity to soups, marinades, dressings, and more. While the prospect of making your own fermented paste might seem daunting, it's actually incredibly forgiving and far less complicated than you might imagine.
The Magic of Soy-Free Miso: Benefits Beyond the Bean
The beauty of miso lies in its adaptability. While soybeans are traditional, the same transformative magic can be applied to virtually any bean or legume, opening up exciting possibilities for flavor and dietary needs. Soy-free miso is a game-changer for individuals with soy allergies, sensitivities, or those simply looking to diversify their diet and experiment with new culinary profiles. Imagine the possibilities with chickpea miso, black bean miso, adzuki bean miso, or even lentil miso!
Beyond its versatility, soy-free miso paste is a powerhouse of health benefits, particularly for your gut microbiome. Just like its soy counterpart, it's packed with a trifecta of goodness: prebiotics, postbiotics, and probiotics:
- Prebiotics: Since miso is made from beans, it naturally contains prebiotics like fructooligosaccharides (FOS) and galactooligosaccharides (GOS). These are non-digestible fibers that act as food for the beneficial bacteria in your gut, helping them thrive.
- Probiotics: The fermentation process, spearheaded by the koji and its beneficial microbes, enriches the miso with live, active cultures. Consuming these friendly bacteria can help replenish and diversify your gut flora, contributing to a balanced digestive system.
- Postbiotics: As the beneficial bacteria consume prebiotics and other compounds during fermentation, they produce beneficial byproducts known as postbiotics. These include short-chain fatty acids (SCFAs) like butyrate, which play crucial roles in gut health, immune function, and inflammation regulation.
A healthy and balanced gut microbiome is fundamental to overall well-being. It directly influences the gut-brain axis, the intricate communication pathway between your digestive system and your brain, impacting everything from mood and cognitive function to overall mental well-being. By incorporating soy-free miso into your diet, you're not just adding a delicious flavor; you're nurturing a healthier, happier gut.
Furthermore, the high salt content inherent in miso, combined with the controlled fermentation process initiated by the Aspergillus oryzae (koji), creates an incredibly safe environment. This natural preservation method ensures that undesirable microbes are kept at bay, while the beneficial ones flourish, yielding a product that is both safe to consume and remarkably rich in digestive support.
Crafting Your Own Soy-Free Miso: A Step-by-Step Guide
Embarking on the journey of how to make miso paste at home is a deeply rewarding experience. While the fermentation takes time, the active hands-on steps are minimal and straightforward. The beauty of soy-free miso is that the principles remain the same; you simply swap out the soybeans for your preferred legume. This versatility means you can tailor your miso to your taste and dietary needs.
Essential Ingredients for Soy-Free Miso
You only need three core ingredients to make your own gut-healthy, soy-free miso:
- Dried Beans/Legumes: This is where the "soy-free" magic happens. Instead of soybeans, consider chickpeas (garbanzo beans), adzuki beans, black beans, cannellini beans, or even lentils. Each will impart its unique flavor and color to the final miso.
- Koji: The starter culture is non-negotiable. While you can learn Koji's Secret: Unlock Rich Miso Flavors Through Fermentation from scratch, most specialty Japanese stores or online retailers sell pre-made koji. Rice koji is the most common and versatile, but you can also find barley koji or even chickpea koji for a truly soy-free and grain-free option.
- Salt: Non-iodized sea salt or Himalayan pink salt is best. The salt content not only provides flavor but is crucial for inhibiting undesirable bacteria and ensuring a safe fermentation.
The Miso-Making Process: Phase by Phase
Let's walk through the general process of crafting your own soy-free miso. Remember, this is a flexible guide, and minor adjustments based on your chosen bean might be necessary.
- Prepare Your Beans: Soaking & Cooking
- Soak: Begin by soaking your chosen dried beans. For example, if you're using chickpeas, soak about 2 pounds (900 grams) in plenty of water for 16-24 hours. They will significantly increase in size, so ensure your container is large enough.
- Cook: The next day, drain the soaked beans and transfer them to a large pot. Cover them with fresh water, ensuring there’s at least an inch or two of water above the beans. Bring to a boil, then reduce to a simmer and cook for 2-4 hours, depending on the bean. The goal is for the beans to be very soft – easily squishable between your fingers but not completely falling apart. For the first 30 minutes, you might need to skim off any foam that rises to the surface. Stir occasionally to prevent sticking.
- Cool and Drain: Protecting the Koji
- Once cooked, drain the beans, making sure to reserve some of the cooking liquid. This liquid can be used later if your miso mixture is too dry.
- Transfer the beans to a large bowl or baking sheet to cool. It's crucial that the beans cool down to room temperature, or ideally around 90°F (32°C). Adding koji to hot beans will kill the beneficial enzymes, halting the fermentation before it even begins.
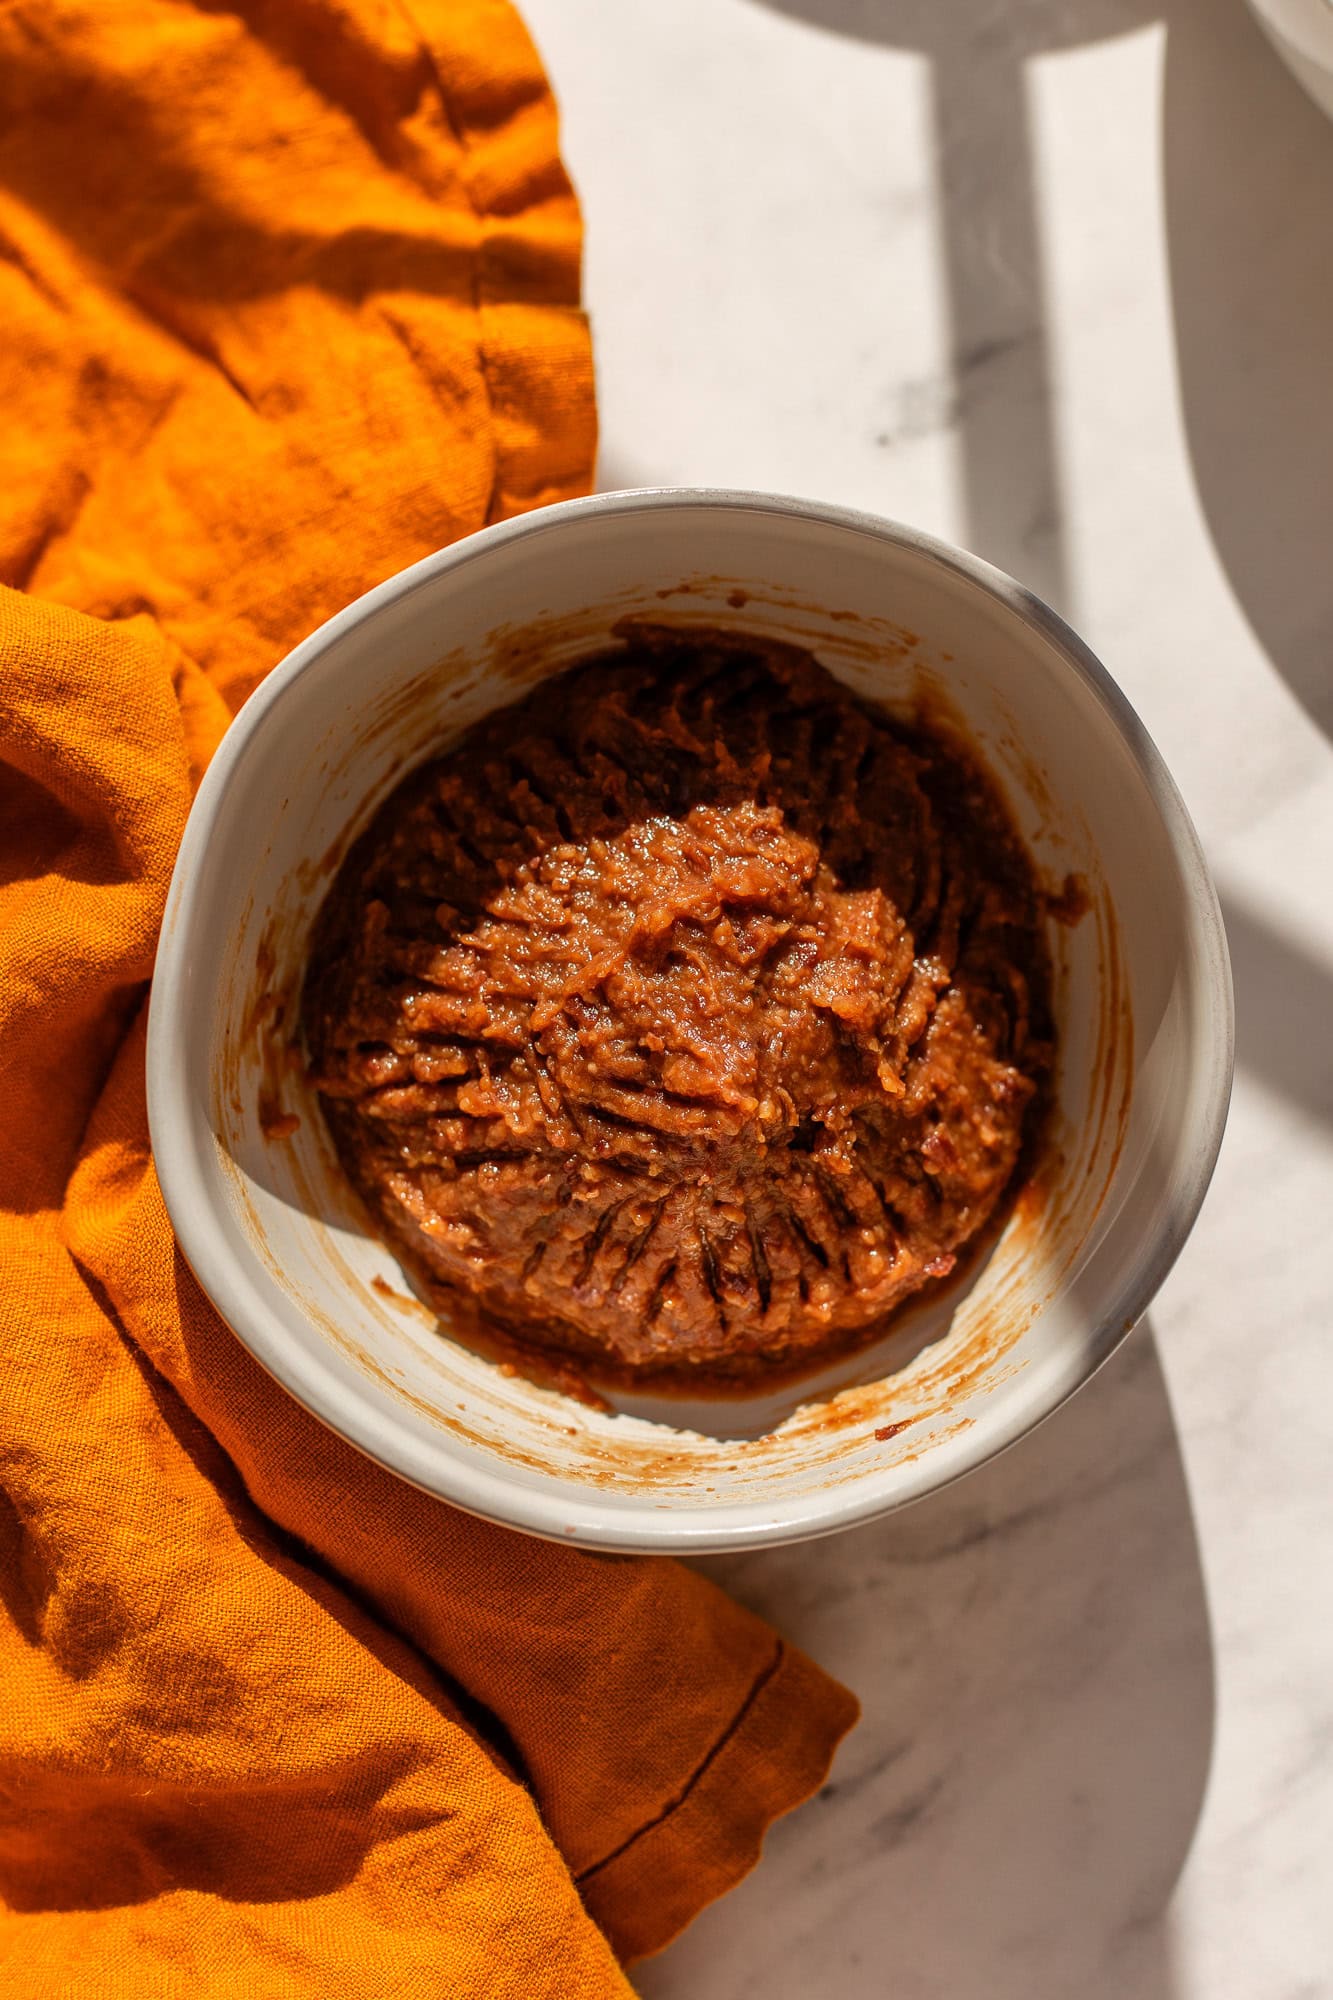
- Mix, Mash, and Season: The Heart of the Miso
- Once the beans are cooled, add your koji and salt to the bowl. A common starting ratio for a medium-sweet miso might be around 2 lbs (900g) cooked beans, 1.5 lbs (680g) rice koji, and 1 lb (450g) salt. However, this is just an example, and ratios will vary depending on your desired sweetness and fermentation time (more on this below).
- Using clean hands, thoroughly mix and mash all the ingredients together. This is a critical step, ensuring the koji and salt are evenly distributed throughout the beans. You can use a potato masher, your hands, or even a food processor (pulsing gently to avoid over-pureeing) to achieve a paste-like consistency with some texture. If the mixture feels too dry, add some of the reserved bean cooking liquid, a little at a time, until it reaches a consistency where it can be formed into a ball without crumbling.
- Pack it Tight: Creating the Fermentation Environment
- Form the miso mixture into tight balls and firmly pack them into a clean, sanitized fermentation crock or a large, airtight glass jar. Press down firmly to remove any air pockets, which can encourage undesirable mold growth. Smooth the top surface.
- Sprinkle a thin layer of salt over the surface of the packed miso. This acts as a protective barrier.
- Place a piece of plastic wrap directly on the surface of the miso, pressing it down to create an anaerobic (oxygen-free) environment.
- Weigh down the miso with a clean plate and weights (like a jar filled with water or fermentation weights). This helps to extract moisture and create an even denser pack. Seal the container loosely – you want some air exchange, but not an open invitation for pests or excessive evaporation.
For more detailed insights into the general process of creating this fermented delight, you might find value in exploring Crafting Homemade Miso: Easy Steps to Fermented Bean Paste.
Miso Ratios and Flavor Profiles
The ratio of koji to beans, along with the salt percentage, is the primary determinant of your miso's final flavor and fermentation time. This is where you can truly customize your soy-free creation:
- Sweet Miso (Shiro Miso style): For a lighter, sweeter, and faster-fermenting miso (typically 3-6 months), use a higher ratio of koji to beans. For instance, you might use an equal weight of koji to beans, or even more koji. Rice koji naturally lends sweetness.
- Darker, Umami-Rich Miso (Aka Miso style): For a deeper, saltier, and more intensely umami flavor that requires a longer fermentation (6 months to 2 years or more), use a lower ratio of koji to beans. The longer fermentation allows more complex flavors to develop and the color to deepen.
Experimentation is key! Start with a well-researched recipe for your chosen bean and koji type, then adjust in future batches based on your preferences.
Fermentation and Storage: The Waiting Game
Once your miso is packed, the hardest part begins: waiting. Store your miso in a cool, dark place (ideally between 60-75°F / 15-24°C). During this time, the koji works its magic. You might see some liquid (tamari) accumulate on top – this is normal and a sign of active fermentation. You may also observe harmless white mold (kahm yeast) on the surface; this can simply be scraped off. Any dark, fuzzy mold, however, should be removed entirely, and the underlying miso checked for off-odors before consumption.
After your desired fermentation time, carefully remove the weights and plastic wrap. Your homemade, soy-free miso is ready to be harvested! Transfer it to airtight jars and store it in the refrigerator, where it will continue to slowly age and develop flavor for many months, or even years.
Conclusion
Embarking on the journey of making soy-free miso at home is a testament to the power of traditional fermentation and a fantastic way to broaden your culinary horizons. From the simplicity of choosing your favorite bean to the patient anticipation of the fermentation process, every step is a valuable learning experience. You’ll not only create a versatile, gut-healthy condiment but also gain a deeper appreciation for the ancient art of microbial transformation. So, gather your beans, find your koji, and get ready to create a truly unique and nourishing paste that will revolutionize your cooking and support your well-being. The rich, savory rewards are well worth the wait.
