The rich, umami depth of miso paste is a cornerstone of Japanese cuisine, gracing everything from warming soups to marinades and dressings. While readily available in stores, there's an unparalleled satisfaction and complexity that comes from crafting your own. Far from being an intimidating culinary endeavor, learning how to make miso paste at home is a wonderfully forgiving and rewarding journey into the world of fermentation.
At its heart, miso is a beautifully simple concept: a fermented bean paste. However, the magic truly unfolds when humble ingredients like soybeans, water, and salt are introduced to a powerful microbial ally: koji. This ancient Japanese starter culture initiates a transformative process that breaks down complex proteins and starches, creating the distinctive savory, sweet, and earthy notes that make miso so beloved. Prepare to embark on an adventure that will not only stock your pantry with a delicious condiment but also connect you to a centuries-old tradition.
Understanding Miso's "Life Force": Koji
Before diving into the practical steps of how to make miso paste, it's crucial to understand koji. Often referred to as the "life force" of miso, koji is a grain—typically rice, but sometimes soybeans or barley—that has been carefully inoculated with a specific fungus called Aspergillus oryzae. This incredible mold is responsible for kickstarting the entire fermentation process.
Once introduced to cooked soybeans, koji's enzymes get to work, breaking down the proteins into beneficial amino acids, complex starches into simple sugars, and fats into fatty acids. This enzymatic activity is what develops miso's signature flavor, color, and aroma over time. Without koji, you simply wouldn't have miso.
For the home brewer, you have two primary options for sourcing koji: purchasing it pre-made or crafting it yourself. While making koji from scratch offers an incredibly deep dive into fermentation and precise control over your final product, it is a multi-day process requiring specific conditions. Fortunately, high-quality ready-made koji is widely available at specialty Japanese grocery stores or online. If you're keen to explore the fascinating world of koji cultivation in more detail and unlock even richer miso flavors, you might find our guide on Koji's Secret: Unlock Rich Miso Flavors Through Fermentation incredibly insightful.
The type and quantity of koji you choose will also profoundly influence your final miso. For instance, a "sweet" miso often utilizes a higher ratio of white rice koji, leading to a shorter fermentation time and a milder, sweeter flavor profile. Conversely, a darker, more robust miso, like a red or hatcho miso, typically uses less koji relative to soybeans, requiring a much longer fermentation period to deepen its complex flavors and characteristic hue.
The Essential Ingredients for Your Homemade Miso
Making miso at home requires only three core ingredients, yet their quality and preparation are paramount. When considering how to make miso paste, simplicity is key, but attention to detail will elevate your results.
- Dried Beans/Legumes: While soybeans are the traditional choice for classic miso, the beauty of homemade fermentation lies in its versatility. You can absolutely make delicious miso from almost any dried bean, such as chickpeas, adzuki beans, or even lentils, offering a fantastic alternative for those seeking Make Soy-Free Miso: Gut-Healthy Paste from Any Bean. The key is thorough soaking and proper cooking. For our classic recipe, we'll focus on soybeans.
- Koji: As discussed, this is your starter culture. Ensure your koji is fresh and of good quality. The type (rice, barley, soybean) will influence the final flavor profile.
- Salt: Salt acts as a critical preservative, inhibiting undesirable microbial growth and regulating the fermentation process. Use a non-iodized salt, such as sea salt or kosher salt, as iodine can interfere with fermentation. The salt content also directly impacts the taste and safety of your miso.
- Water: While not a direct "ingredient" in the mix, the water used to cook your beans and, importantly, the reserved cooking liquid, will play a vital role.
The ratio of these ingredients is what determines the type of miso you'll create. A typical sweet miso might use a 1:1 ratio of cooked soybeans to koji, with a moderate amount of salt. A more traditional, longer-fermented miso might lean towards a 2:1 or even 3:1 soybean-to-koji ratio, often with a higher salt content to support the extended fermentation period.
Step-by-Step Guide: Crafting Your Miso Base
Now, let's get into the practical steps of how to make miso paste. This hands-on phase is straightforward and incredibly satisfying.
1. Soaking the Beans
Begin by soaking your dried soybeans. For 2 pounds (approximately 900 grams) of dried soybeans, place them in a very large bowl and cover with plenty of fresh, cold water. The beans will roughly double in size, so ensure your container is large enough to accommodate this expansion. Let them soak for a minimum of 16 hours, or overnight.
2. Cooking the Beans
The next day, drain the soaked beans and transfer them to a large pot. Cover them with fresh water, ensuring there’s at least an inch or two of water above the bean level. Bring to a boil, then reduce the heat to a simmer. For the first 30 minutes of cooking, actively skim off any foam that rises to the surface. This helps keep your miso clean and prevents off-flavors.
Continue to simmer the beans for 2 to 3 hours. Stir them every 15-30 minutes to prevent sticking. The goal is to cook the beans until they are very tender – soft enough to be easily squished between your fingers, but not completely falling apart or mushy. This consistency is crucial for optimal koji activity and a smooth miso texture.
3. Draining and Cooling
Once cooked, drain the beans, making sure to reserve some of the cooking liquid. This liquid is invaluable later if your miso mixture is too dry. Transfer the drained beans to a large bowl or tray and allow them to cool down to room temperature, or ideally to about 90°F (32°C). Cooling is vital; hot beans will kill the delicate koji cultures, hindering fermentation.
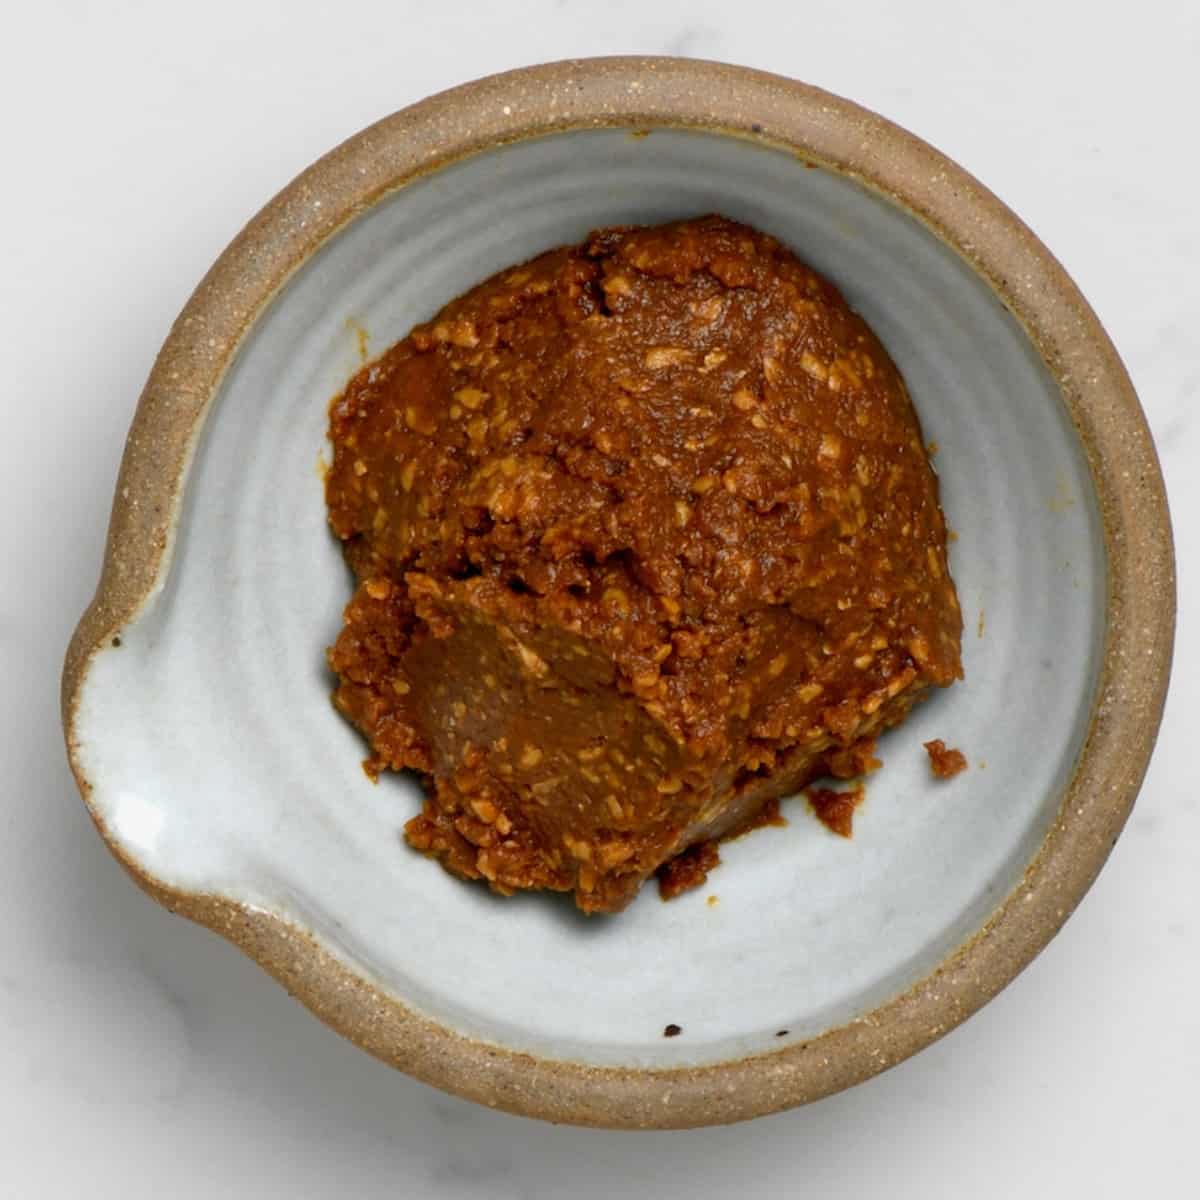
4. Mixing and Mashing
Once cooled, add your koji (e.g., 1350 grams of rice koji for a sweeter, quicker ferment) and salt (e.g., 500 grams) to the cooked beans. Using thoroughly clean hands, begin to mix and mash the ingredients together. This is where the sensory experience truly begins! Mash until the mixture reaches a paste-like consistency, similar to chunky mashed potatoes. You can use a potato masher, a sturdy spoon, or even your hands. If the mixture seems too dry, add some of the reserved bean cooking liquid, one tablespoon at a time, until you reach the desired consistency.
5. Packing and Sealing
The final step before fermentation is packing your miso. Transfer the paste into a clean, sanitized fermentation crock or a large, sturdy food-grade container. Press the mixture down firmly, eliminating any air pockets as you go. This is critical to prevent unwanted mold growth. The surface should be as smooth and compact as possible. You can even form the paste into balls and throw them into the container to help eliminate air pockets. Once packed, sprinkle a thin layer of salt over the entire surface of the miso to act as a protective barrier.
Place a piece of plastic wrap directly onto the surface of the miso, pressing it down firmly, then add a weight (such as a plate with a heavy jar or specific fermentation weights) on top. This weight helps to compress the miso further and draw out liquid, creating a protective brine layer. Finally, cover the container with a lid, ensuring it’s airtight but still allows for some gas exchange if using a traditional crock.
The Art of Waiting: Fermentation and Beyond
With your miso packed and sealed, the hardest part begins: waiting. This is where the true alchemy of fermentation takes place. Understanding this phase is key to mastering how to make miso paste.
Store your miso in a cool, dark place, ideally at a consistent temperature between 50-70°F (10-21°C). The fermentation period can span from several months to even years, depending on your desired flavor and the koji-to-soybean ratio. A sweeter, milder miso might be ready in 3-6 months, while a deep, rich red miso could take 1-2 years or even longer.
During this time, the koji enzymes continue their work, slowly transforming the bean paste. You'll notice changes in color, deepening from a pale cream to shades of yellow, amber, or rich brown. The aroma will evolve from a fresh, earthy scent to a complex, savory fragrance. A dark liquid called tamari (a natural byproduct) may rise to the surface – this is a good sign, and it can be skimmed off and used as a delicious, naturally brewed soy sauce alternative.
It's natural to occasionally see a thin layer of white mold or kahm yeast on the surface. This is typically harmless. Simply scrape it off with a clean spoon, along with a thin layer of miso underneath, and replace the plastic wrap and weight. If you see black or brightly colored fuzzy mold, unfortunately, you’ll need to discard the batch.
After your chosen fermentation period, give your miso a taste. If it has reached your desired flavor, it's ready! Remove the weight and the top layer of protective salt. Transfer your homemade miso to airtight containers and store it in the refrigerator, where the cool temperatures will slow down further fermentation, preserving its perfect flavor and texture for many months, if not years. Your patience will be generously rewarded with a profoundly flavorful, nutrient-dense condiment that is truly your own.
Conclusion
Learning how to make miso paste is more than just following a recipe; it’s an immersive experience that connects you with ancient culinary traditions and the magic of microbial transformation. From soaking beans to patiently waiting for nature to work its wonders, each step builds anticipation for the incredibly versatile and delicious fermented bean paste you'll create. The rich prebiotic, postbiotic, and probiotic benefits of homemade miso also contribute to a healthy gut microbiome, supporting everything from digestion to overall well-being.
Embrace the process, trust in the power of koji, and don't be afraid to experiment with different beans or fermentation times. The journey of crafting your own miso paste is incredibly forgiving and ultimately yields a unique product that far surpasses anything you can buy in a store. So gather your ingredients, clear some space, and prepare to be amazed by the depth of flavor you can cultivate right in your own kitchen.
