Miso, the savory cornerstone of Japanese cuisine, is far more than just a fermented bean paste. It's an ingredient that brings unparalleled umami depth, complex sweetness, and a wealth of health benefits to countless dishes. While its sophisticated flavor might suggest an intricate creation process, demystifying how to make miso paste at home reveals a surprisingly forgiving and deeply rewarding culinary journey. At the heart of this transformation lies koji, a humble yet powerful ingredient that orchestrates the magic of fermentation.
Imagine crafting a paste that evolves in flavor and texture over months, a living condiment imbued with your care and patience. This article will guide you through the essentials, from understanding koji's vital role to the practical steps of creating your own rich, flavorful miso. Prepare to unlock a world of culinary possibilities right in your kitchen.
The Magic Behind Miso: Understanding Koji
To truly understand how to make miso paste, one must first grasp the concept of koji. Far from being a mere ingredient, koji is the very life force that propels miso's incredible transformation. But what exactly is it?
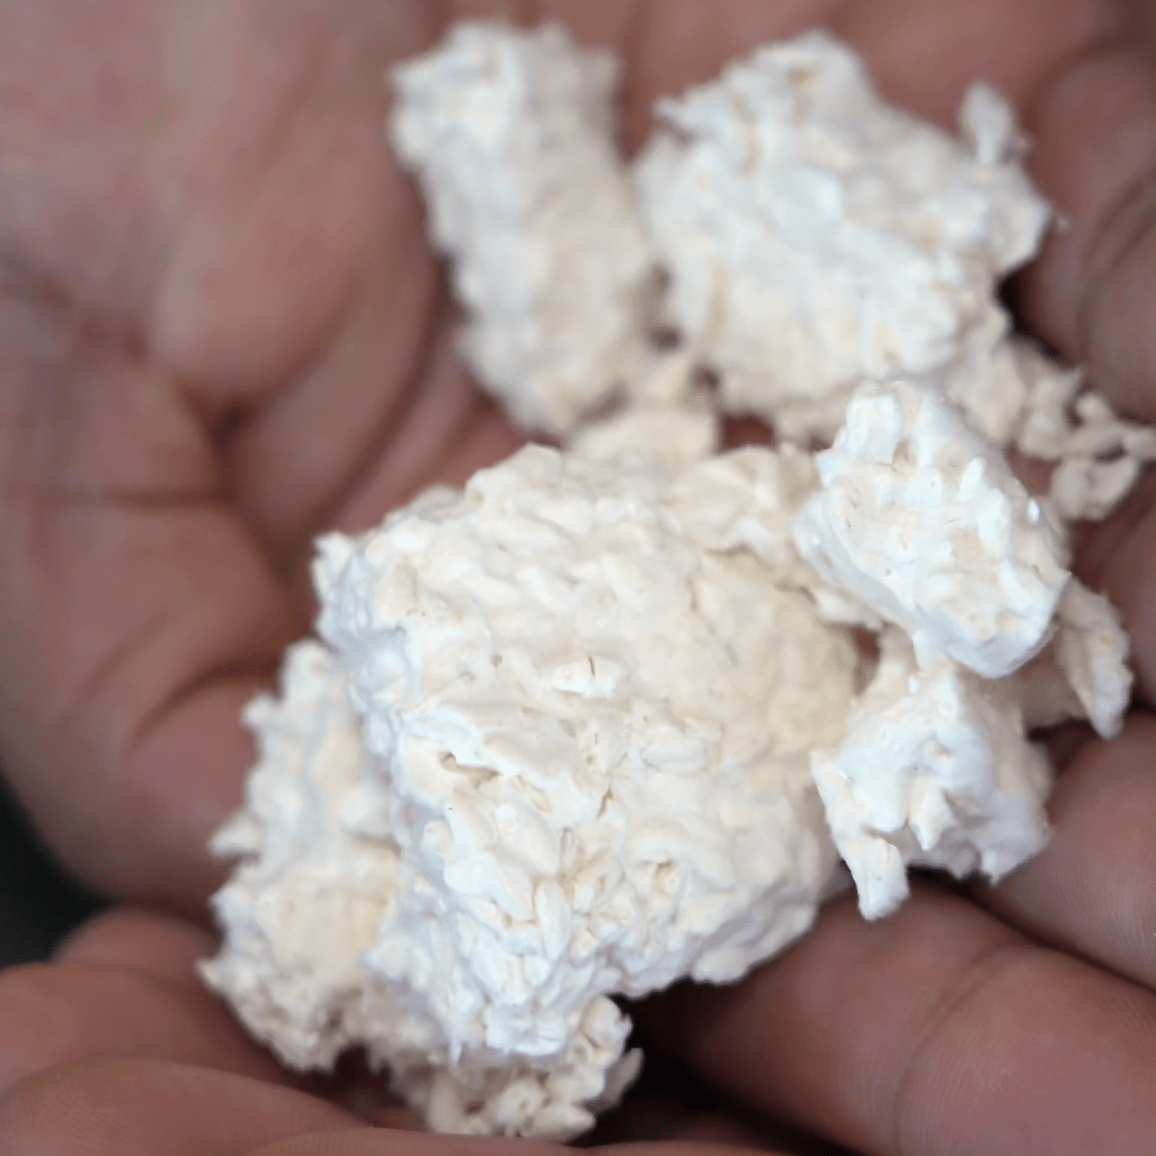
Koji refers to a steamed grain—most commonly rice, but also soybeans or barley—that has been intentionally inoculated with a benevolent fungus called Aspergillus oryzae. This remarkable mold, often referred to as "koji mold," is a superstar in Asian fermentation, responsible for sake, soy sauce, and of course, miso.
Once introduced to the grain, the koji mold gets to work, secreting powerful enzymes that break down the complex starches and proteins present in the grains and, subsequently, the soybeans. These enzymes convert starches into simple sugars, and proteins into amino acids and fatty acids. This enzymatic activity is what gives miso its distinctive umami, sweetness, and depth of flavor. Without koji, miso would simply be a salty bean paste, lacking the characteristic richness and complexity.
While the prospect of making koji from scratch might sound intimidating, it's an optional, albeit deeply satisfying, endeavor for the most dedicated home fermenters. For most, the journey of how to make miso paste begins with pre-made koji. Specialty Japanese markets, Asian grocery stores, and online retailers readily sell high-quality dried rice koji, ready to be incorporated into your paste. This allows you to jump straight into the exciting phase of combining ingredients and initiating the fermentation.
Embarking on Your Miso-Making Journey: Essential Ingredients
The beauty of miso making lies in its simplicity. At its core, you only need three fundamental ingredients to learn how to make miso paste: dried beans/legumes, koji, and salt. However, the ratios and types of these ingredients offer a vast spectrum of possibilities, allowing you to tailor your miso to your desired flavor profile.
- Dried Beans/Legumes: The traditional choice is, of course, soybeans. They provide the protein and structure that form the backbone of miso. However, the world of miso is not limited to soy. You can experiment with a variety of beans, such as chickpeas, adzuki beans, or even lentils, to create unique flavor profiles and cater to dietary needs. For those interested in exploring non-soy options, delve into the possibilities with our guide on Make Soy-Free Miso: Gut-Healthy Paste from Any Bean.
- Koji: As we've established, koji is indispensable. The type of koji (rice, barley, or soy) will influence the final flavor. Rice koji tends to produce sweeter, lighter misos, while barley koji can lend a nuttier, earthier tone.
- Salt: More than just a seasoning, salt plays a crucial role in miso fermentation. It acts as a preservative, preventing the growth of unwanted microorganisms, and helps draw out moisture from the beans, creating the perfect environment for koji to thrive. The quality of your salt matters; opt for a good quality, non-iodized sea salt or kosher salt.
Understanding Ratios and Fermentation Time
The ratio of koji to soybeans, along with the salt content, dictates the type of miso you'll create and its fermentation timeline. A higher ratio of koji, especially white rice koji, relative to soybeans, typically results in a sweeter, lighter-colored miso with a shorter fermentation time (e.g., 6 months to a year). This is because the abundant enzymes in koji rapidly break down starches into sugars.
Conversely, a lower koji-to-soybean ratio, often combined with a higher salt percentage, leads to a darker, more robust, and deeply umami-rich miso, requiring a much longer fermentation period (1-3 years, or even more). This extended time allows the flavors to deepen, the color to darken, and the aroma to intensify, yielding complex red or even black misos.
Step-by-Step Guide: Crafting Your Homemade Miso Paste
Now for the exciting part: learning the practical steps of how to make miso paste. While patience is required for the fermentation, the hands-on process is quite straightforward.
Phase 1: Preparing Your Beans
Let's use a common example, aiming for a delicious, balanced miso:
- Soak the Beans: Begin by soaking 2 pounds (approximately 900 grams) of dried soybeans in plenty of cold water for 16-24 hours. They will significantly expand, often doubling in size, so ensure your container is large enough. This rehydrates the beans and kickstarts the softening process.
- Cook the Beans: The next day, drain the soaked beans and transfer them to a large pot. Cover them with fresh water, ensuring there's at least 2-3 inches of water above the beans. Bring to a boil, then reduce the heat to a simmer. For the first 30 minutes, diligently skim off any foam that rises to the surface. Continue to cook the beans for 2-3 hours, or until they are soft enough to be easily squished between your fingers but not completely falling apart. A gentle stir every 15-30 minutes will help prevent sticking. The goal is a creamy interior with a somewhat intact skin.
- Cool the Beans: Once cooked, drain the beans, reserving about 1-2 cups of the cooking liquid (this will be useful for adjusting consistency later). Transfer the beans to a large bowl or tray and allow them to cool down to room temperature, or ideally, around 90°F (32°C). This temperature is crucial; if the beans are too hot, they will kill the delicate koji enzymes. If too cold, the fermentation will be slow to start.
Phase 2: Combining and Mashing
- Measure Ingredients: Once the beans are cooled, it's time to combine them with koji and salt. A good starting point for a balanced, flavorful miso might be approximately 1350 grams of rice koji and 500 grams of salt for 2 pounds of cooked soybeans (which started as 900g dried). These ratios can be adjusted for sweetness, saltiness, and desired fermentation time.
- Mix Thoroughly: Using thoroughly clean hands (or food-safe gloves), begin mixing the cooled soybeans, koji, and salt in a large bowl. Mash the mixture together until the beans are broken down and evenly incorporated with the koji and salt. You can aim for a relatively smooth paste or leave some texture with partially mashed beans, depending on your preference for chunky or smooth miso. This process is often therapeutic and ensures the koji comes into intimate contact with the bean material. If the mixture feels too dry, add a tablespoon or two of the reserved bean cooking liquid until it reaches a consistency where it can be formed into a tight ball.
Phase 3: The Fermentation Setup
This phase is all about preparing your miso for its long, transformative rest. For a more comprehensive guide to the setup process, see our article on Crafting Homemade Miso: Easy Steps to Fermented Bean Paste.
- Prepare Your Vessel: You'll need a food-grade fermentation crock, glass jar, or a sturdy plastic container with a lid. Ensure it is meticulously clean and sanitized.
- Pack the Miso: Form the miso paste into tight, compact balls (about the size of a tennis ball) and firmly press them into the bottom of your fermentation vessel. Eliminate any air pockets as you go, which can lead to unwanted mold. The goal is a dense, smooth surface.
- Add a Salt Cap and Weight: Once all the miso is packed in, sprinkle a thin layer of salt over the entire surface. This "salt cap" acts as an additional barrier against undesirable mold. Then, place a piece of plastic wrap or parchment paper directly on the miso surface, ensuring it touches every part to minimize air exposure. Finally, place a weight (a clean plate with a jar of water, or a specialized fermentation weight) on top to press down the miso. This helps extract more liquid and create an anaerobic environment.
- Seal and Store: Cover the vessel with a lid, airlock, or another layer of plastic wrap to seal it. Store your miso in a cool, dark place with a relatively stable temperature, ideally between 60-75°F (15-24°C).
- The Wait: Now, the hardest part: waiting. Miso can ferment for anywhere from 6 months to several years. Check on it periodically (every few months). You might see some liquid (tamari) accumulate on top – this is a good sign! Scrape off any surface mold (which is often harmless, but if it looks fuzzy or deeply colored, remove it carefully) and replace the cover and weight.
The Gut-Healthy Benefits of Fermented Miso
Beyond its incredible flavor, learning how to make miso paste at home offers a profound connection to the numerous health benefits of fermented foods. Miso is a powerhouse of prebiotics, postbiotics, and probiotics, all working in harmony to support a thriving gut microbiome.
- Prebiotics: The beans used in miso contain valuable prebiotics like fructooligosaccharides (FOS) and galactooligosaccharides (GOS). These are non-digestible fibers that act as food for the beneficial bacteria in your gut, helping them flourish.
- Probiotics: As a fermented food, miso naturally contains live beneficial bacteria (probiotics) from the koji and the fermentation process. These microbes contribute to a diverse gut flora, which is essential for digestive health and overall well-being.
- Postbiotics: The beneficial compounds produced by the probiotics during fermentation are called postbiotics. These include short-chain fatty acids, enzymes, and organic acids that can have anti-inflammatory effects and support immune function.
This robust balance of gut-supporting compounds in miso has far-reaching effects. A healthy gut microbiome directly influences the gut-brain axis, the intricate communication pathway between your digestive system and your brain. Regular consumption of fermented foods like miso can positively impact mood, cognitive function, and even contribute to a stronger immune system.
Conclusion
Embarking on the journey of how to make miso paste is an incredibly rewarding culinary adventure. From the mysterious power of koji to the simple act of combining beans and salt, you are creating a living food that transforms over time, developing unparalleled depth and complexity. While it demands patience, the hands-on process is straightforward and incredibly forgiving, yielding a condiment that elevates your cooking and nourishes your body.
The satisfaction of scooping out your homemade miso, rich with umami and a testament to your patience, is truly unmatched. So, gather your ingredients, embrace the fermentation process, and prepare to unlock a world of rich, savory flavors from your own kitchen.
